
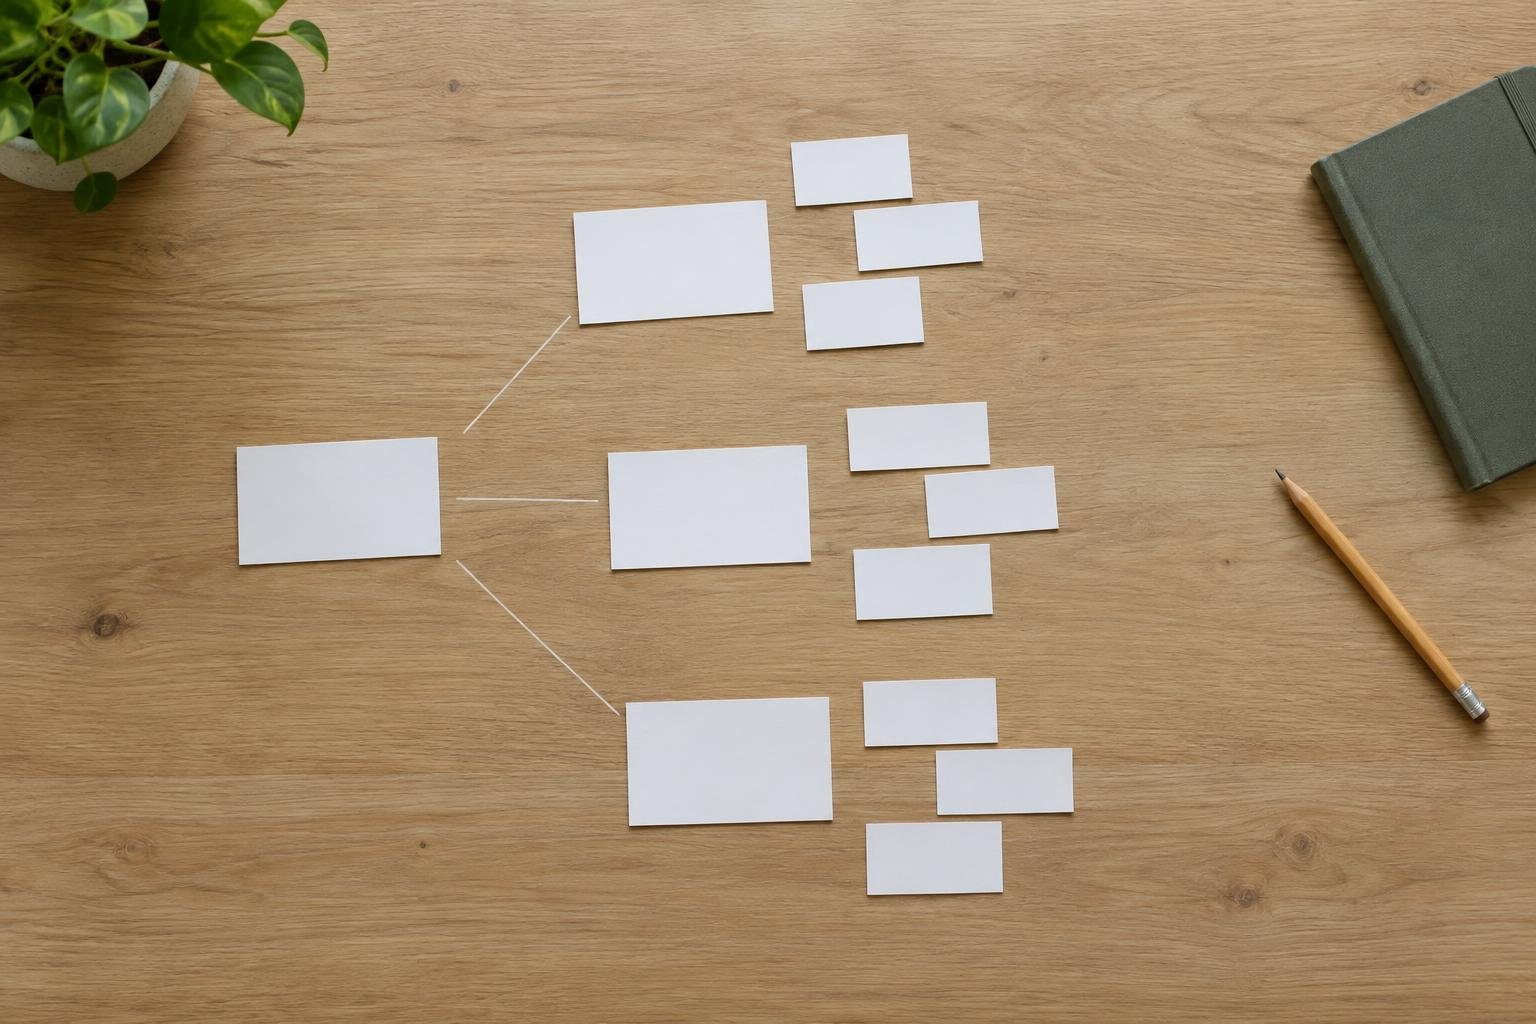
A useful blog post usually starts before the first full sentence. An outline helps you decide what the reader needs, what belongs in the post, and what can be left out. Learning how to outline a blog post can also make drafting feel less like a blank-page test and more like working through a clear plan.
An outline doesn’t need to be detailed or formal. It can be a short list of questions, a sequence of steps, or a set of headings with notes underneath. The right format is the one that helps you write a post that answers its main question without wandering.
Use the process below to build an outline that gives readers a clear path from their problem to a useful next step.
How to outline a blog post in seven steps
1. Start with one reader and one question
Begin by describing the person you’re writing for in practical terms. Avoid broad labels such as “small business owners” or “new bloggers” on their own. Consider what that reader is trying to do, what they already know, and where they might get stuck.
Then write the question the post will answer in one sentence. For example, “How can a new blogger decide which topic to write about next?” is more useful for planning than “blog topics.” It points to a task and gives you a way to judge which sections belong.
Keep the question specific enough to answer in one post. If it contains several separate problems, choose the one that matters most and save the others for future articles.
2. Choose the right shape for the answer
Different questions call for different post structures. Pick a format that matches what the reader needs to understand or do, rather than choosing a familiar format by habit.
- Step-by-step tutorial: Use this when the reader needs to complete a process in order.
- Checklist: Use this when the reader needs to inspect, prepare, or verify several items.
- Comparison: Use this when the reader is weighing options against the same criteria.
- Explanation: Use this when the reader needs to understand a concept before acting.
- Troubleshooting guide: Use this when the reader has a problem and needs to identify likely causes and fixes.
The format gives your outline a starting structure. A tutorial might move from preparation to action and review. A comparison might introduce decision criteria before discussing each choice. The reader’s question should still shape the final order.
3. Write the answer before the headings
In one or two sentences, state the central answer you want the reader to leave with. This is your working answer, not necessarily the introduction or conclusion you’ll publish.
For a post about choosing a blog topic, a working answer might be: “Choose a topic that fits your reader’s needs, your experience, and the kind of post you can produce well. Test the idea against those criteria before adding it to your plan.”
This statement acts as a filter. When you’re tempted to add a section, ask whether it explains, supports, or helps apply the answer. If it doesn’t, remove it or save it for another post.
4. List the reader’s questions in a useful order
Before naming your H2 headings, jot down the questions a reader may ask while trying to solve the problem. For a practical tutorial, those questions might include:
- What should I have ready before I begin?
- What is the first action?
- How do I know I’m doing it well?
- What common mistake should I avoid?
- What should I do after I finish?
Put the questions in the order the reader is likely to need their answers. A reader should not have to jump ahead to understand an earlier step. If a post is about a choice rather than a process, organize questions around the decision: what the options are, how to compare them, and how to make the final call.
These questions become the bones of your outline. They’re often more useful than writing headings first because they keep the post focused on the reader’s task.
5. Turn the questions into specific headings
Convert each main question into a descriptive H2 heading. A heading should give readers a reasonable idea of what they’ll find in that section. “Make a decision” is vague. “Compare topic ideas against your audience and experience” tells the reader what the section will cover.
Use H3 headings when a major section needs smaller, related parts. For example, a section on comparing topic ideas might contain separate H3s for audience relevance, your knowledge, and the effort required. Don’t add subheadings just to make every section look symmetrical.
Read the headings in sequence without the notes beneath them. They should tell a coherent story. If they feel like unrelated points, reconsider the order or narrow the post’s main question.
6. Add notes, examples, and practical details
Under each heading, add a few short notes about what the section needs to explain. Include examples, cautions, or instructions that would help someone apply the advice. Notes can be fragments; the goal is to remember the point, not to draft polished prose too early.
For example, an outline section about comparing topic ideas could include:
- Does the topic address a real reader need?
- Can I explain it from experience or careful preparation?
- Is the scope manageable for one post?
- Example: narrow “meal planning” to “planning five weeknight dinners with a short grocery list.”
Specific examples help turn broad advice into something readers can picture. They also reveal gaps in your explanation. If you can’t think of an example or a clear instruction, you may need to research the topic further or change the scope.
7. Check the outline for gaps and detours
Before drafting, review the outline as a reader. Look for missing steps, unexplained terms, repeated points, and sections that don’t contribute to the main answer. Also check whether a beginner would know what to do after reading the advice.
A quick outline review can use these questions:
- Does the post answer its main question?
- Are the steps or ideas in an order that makes sense?
- Does every section earn its place?
- Have I included the information needed to act, not just general principles?
- Is the topic small enough to handle clearly in one post?
If the post feels too large, split it into related articles or choose one part to cover in more depth. If a section repeats another, combine them. A smaller, complete outline is usually easier to write than a sprawling list of everything you know about the subject.
A simple blog post outline template
Copy this structure into your notes and adapt it to the format you chose. You don’t need to fill every line for every post.
- Working title: What will the post help the reader do or understand?
- Reader: Who needs this, and what do they already know?
- Main question: What one question will the post answer?
- Working answer: What is the useful response in one or two sentences?
- Format: Tutorial, checklist, comparison, explanation, or troubleshooting guide.
- Introduction notes: What problem does the reader have, and what will the post help them do?
- H2 section one: What does the reader need to know first?
- H2 section two: What should the reader do, compare, or understand next?
- H2 section three: What common obstacle or decision needs attention?
- Examples and details: What concrete example, instruction, or caution makes the advice usable?
- Next step: What should the reader do after finishing the post?
For a short post, two or three main sections may be enough. A detailed tutorial may need more. Let the reader’s task determine the length rather than adding headings to meet an arbitrary section count.
Common outlining mistakes that make posts harder to write
Starting with a title and forcing the content to fit
A catchy title can help present a useful idea, but it can also promise more than the article delivers. Draft the main question and working answer first. Then write a title that accurately reflects the post’s scope.
Adding every related idea
Related information isn’t automatically relevant information. A post about planning one article doesn’t need a full explanation of every part of running a blog. Keep supporting details that help readers complete the task, and set aside the rest for separate posts.
Writing headings that sound alike
Headings such as “Plan your post,” “Organize your post,” and “Structure your post” may point to overlapping sections. Give each heading a distinct job. If you can’t explain the difference between two sections, combine or revise them.
Overplanning every sentence
An outline should make drafting easier, not turn into a complete first draft before the first draft. Add enough notes to remember the point, evidence, and example for each section. Leave room to discover a clearer explanation as you write.
Fit outlining into your regular blogging process
Use an outline when a post has several steps, a narrow question that needs careful scope, or an explanation that’s easy to organize poorly. For a short opinion or announcement, a handful of notes may be enough. Adjust the amount of planning to the difficulty of the post.
Once the outline is ready, move it into your writing workflow and set a realistic drafting date. If you’re planning several posts, an editorial calendar you can maintain can help you keep topics and deadlines organized without making every outline more complicated.
When you draft, follow the outline as a guide rather than a contract. Change the order if a clearer explanation emerges, but check that the finished post still answers the original question. A good outline gives you direction while leaving enough flexibility to write naturally.